Science is complex and can be intimidating for some students. My favorite way to engage students and ease their fears is to incorporate fun into my labs! Science is fascinating and it is our job as educators to make science accessible! One really fun hands-on activity to do with students is make slime! Read more to find out how to make slime.

Making slime with your students is a great way to keep them engaged while they learn about complex scientific concepts. Chemical reactions, polymers, and properties of matter to name a few. This activity is perfect for the start of the school year! This is the perfect introductory lab to test your students’ lab safety skills!
Ingredients Needed
- White Glue
- Water
- Food Coloring
- Contact Lens Solution (saline solution)
Making the Slime!
- Pour 1 cup of white glue into a mixing bowl.
- Add 1 tablespoon of baking soda.
- Mix the contents of the bowl thoroughly.
- Add more or less glue depending on your desired consistency.
- Squeeze eight drops of food coloring into a bowl. (depending on the shade you want.)
- Mix the glue, baking soda and food coloring until fully incorporated
- Add 1 tablespoon of contact lens solution.
- Stir your slime mixture until it starts to thicken.
- Personalize your slime recipe with clear glue or fun mix-ins like glitter!
Knead the slime
- Start kneading the slime with both hands
- Add more (about 1/4 tablespoon) lens solution if the slime is too sticky.
- Knead until the slime reaches your desired consistency
- Store your slime in an airtight plastic bag, reusable plastic container or glass jar.

So What Is the Science Behind Slime?
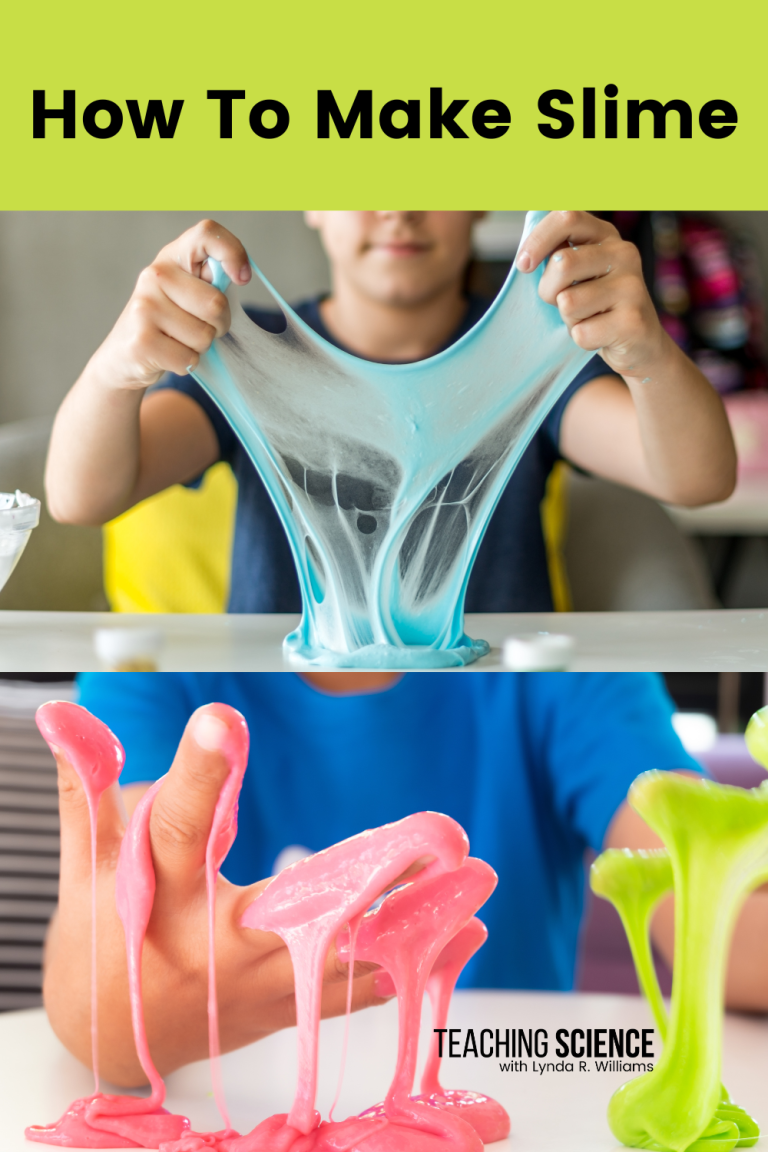
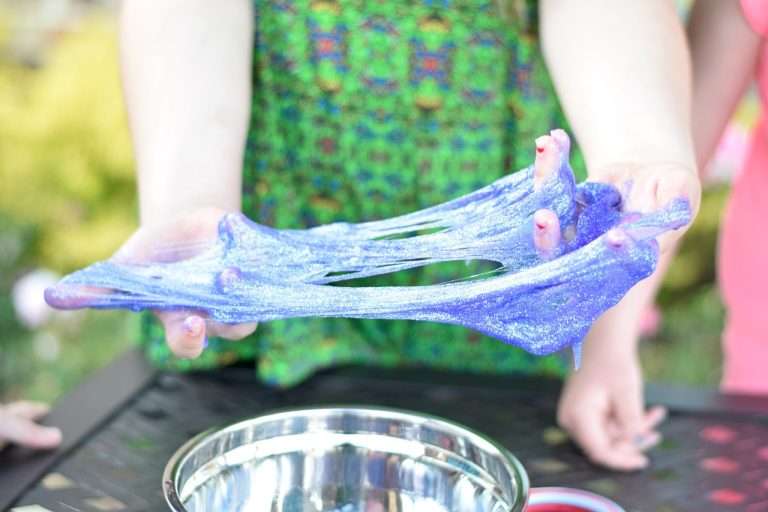
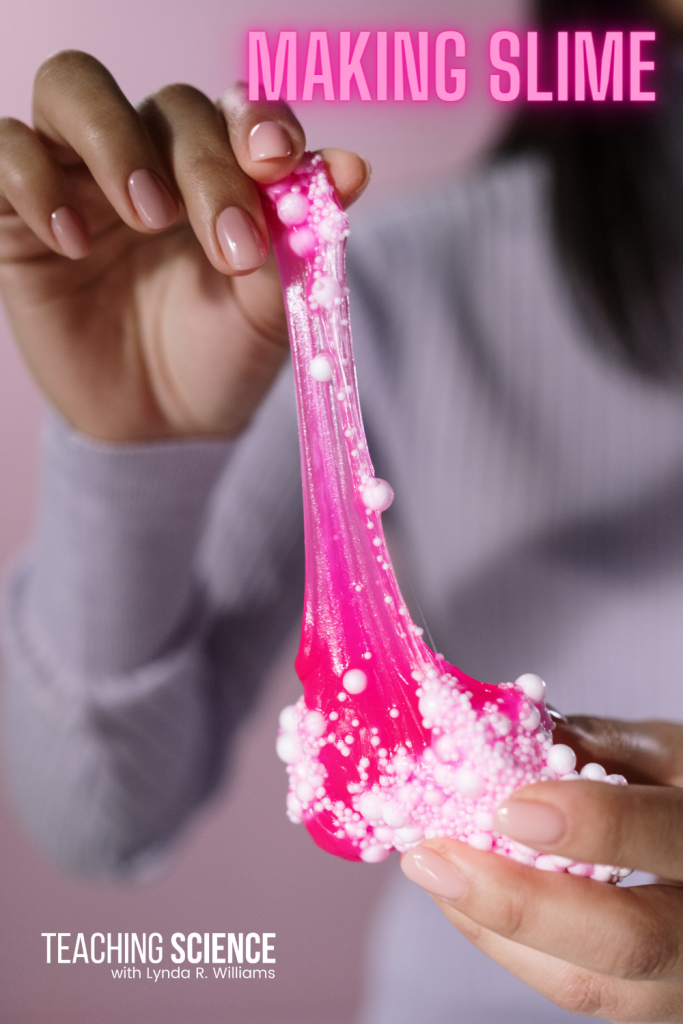
Slime is a non-Newtonian fluid, meaning its viscosity changes depending on the amount of stress applied to it. In other words, the more you play with slime, the more dense it becomes. The main ingredient in most slime recipes is a type of polymer called polyvinyl alcohol (PVA), which is mixed with a cross-linking agent such as borax, contact lens solution, or saline solution to form the slime. The cross-linking agent creates bonds between the PVA molecules, which gives the slime its unique properties.
You can experiment with different colors, textures, and add-ins such as glitter, beads, and foam balls. While it may seem like just a fun toy, slime has actually been used in scientific research to study the properties of non-Newtonian fluids and to develop new materials for a variety of applications.

Here are Some Activities You Can Try with Slime
- Make slime bubbles: Blow bubbles using slime by slowly pulling it apart and then pushing it back together. This creates a bubble that you can then blow and pop.
- Slime sculptures: Use different colors of slime to create sculptures or shapes. You can also add small objects like beads or glitter to create texture.
- Slime sensory play: Add different materials like rice, beans, or foam balls to the slime to create a sensory experience. Children can squish and play with the slime while exploring its textures.
- Slime races: Roll the slime into a ball and race it against other slime balls. This can be done on a flat surface or down a ramp.
- Slime experiments: Use slime to conduct experiments. For example, you can see how different materials like salt or baking soda affect the slime’s texture.

This unit is available for download in two places:
Both downloads are identical in every way – if you download directly from this site, you’re giving me the maximum amount of support!
Either way, your satisfaction is 100% guaranteed.
This site uses 100% secure checkout with PayPal, and after checkout, your download is instantly available.
Thank you, and I hope you enjoy using this unit in your classroom!