The design process is an important cornerstone for STEM education, but it can be hard to show students how to apply the design process. I will go over the design process below, and a few of my resources that implement it!
Step One: Identify the Problem
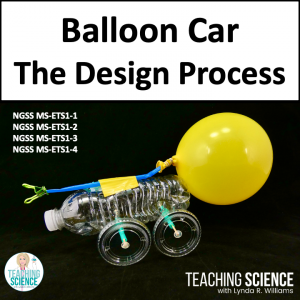
Let’s say I need to make a balloon car that will move using only the energy of a balloon deflating. That is our “problem”.
Step Two: Brainstorm Solutions
Now that I’ve identified my problem, I need to brainstorm solutions for as to how I am going to make a balloon car that works! This can be as simple as writing down my initial thoughts and ideas based on the materials I have.
Step Three: Plan a Design
Now that I have brainstormed, I can move forward to planning my design. I might do this by writing down what materials I plan to use for each component of the balloon car, or it can even mean I will draw a blueprint.
Step Four: Build a Prototype
In this step, I will implement my brainstorms and my design and make a prototype of my balloon car using the materials I have available to me. For your students, this means they will use whatever materials you have provided them.
Step Five: Test and Evaluate
Once I have created my prototype, I will do a test run! Since I am using balloon cars as an example, this means I will see if my balloon car can move using the energy of the balloon deflating. During this step, I would record any data I find. How fast did the car move? Charts, tables, and diagrams are great ways to record data. Recording data can also be as simple as taking notes!
Step Six: Modify the Design
After I test and evaluate my design, I will modify anything that is not working on the prototype. Sometimes your first attempt works great and does not need any modifications. For a balloon car, the car needs to move using only the energy the balloon “engine” produces. If the balloon car doesn’t move, or does not move far, I may need to use lighter materials.
Step Seven: Share
Step seven is where I would share my final design of my balloon car. When I use the balloon car lesson in class, we share our designs by having a race with our finished cars! And each student gets to share the modifications they made to their design to make it better!
How do I Apply the Design Process in the Classroom?
It can be hard to teach the design process while also keeping students engaged. The good news is, I have a few really great resources available that teach and implement the design process! You will love the balloon car experiment, but I also have a resource where students will build their own simple flashlights, and I have a great FREE candy launcher resource!