Teaching the scientific method is about much more than asking students to memorize a list of steps. Students need opportunities to ask testable questions, identify variables, design fair tests, analyze data, and use evidence to explain what happened.
The best way to teach the scientific method and experimental design is to combine clear instruction with repeated practice and a simple hands-on investigation. Students may be able to recite words such as hypothesis, independent variable, and control, but applying those concepts to an unfamiliar experiment is much more challenging.
In my experience teaching science and working with science teachers, students usually understand the vocabulary before they can correctly use it. They need to see examples, analyze mistakes, compare experimental designs, and conduct investigations themselves.
This guide explains how to teach the scientific method, variables, hypotheses, fair tests, and experimental design in a way that helps students think like scientists.
What Is the Scientific Method?
The scientific method is a flexible process scientists use to investigate questions, gather evidence, and develop explanations.
A common classroom version includes these steps:
- Make an observation.
- Ask a testable question.
- Form a hypothesis.
- Plan and conduct an investigation.
- Collect and analyze data.
- Draw a conclusion.
- Communicate the results.
These steps provide students with a useful framework, especially when they are learning how scientific investigations work.
However, students should understand that science does not always follow one perfectly ordered sequence. Scientists may revise a question, repeat a test, collect additional evidence, or change part of an investigation after reviewing the results.
Is There One Correct Scientific Method?
There is not one single scientific method that every scientist follows in exactly the same order.
Scientific investigations vary depending on the question being studied. A scientist investigating animal behavior may use observations. A scientist testing a new material may conduct a controlled experiment. An Earth scientist may analyze historical data because it is impossible to recreate an earthquake or volcanic eruption in a classroom.
The traditional scientific method is still valuable because it gives students a clear structure for planning investigations. The key is to teach it as a flexible model rather than a rigid recipe.
A helpful way to explain this to students is:
The scientific method is a framework scientists use to ask questions and gather evidence. Scientists may repeat, revise, or rearrange parts of the process as they learn more.
This explanation prevents students from assuming that every scientific discovery begins with a hypothesis and ends after one experiment.
Scientific Method and Experimental Design Vocabulary
Students need to understand how the major parts of an investigation work together.
| Term | Student-Friendly Definition | Example |
|---|---|---|
| Testable question | A question that can be answered by collecting measurable evidence | How does the number of paper clips attached to a paper airplane affect the distance it travels? |
| Independent variable | The one factor intentionally changed by the investigator | Number of paper clips |
| Dependent variable | The factor measured or observed as a result | Distance the airplane travels |
| Constants | Conditions kept the same throughout the investigation | Paper type, airplane design, throwing location, and person throwing |
| Control group | A group that does not receive the treatment or change being tested | A paper airplane with no paper clips |
| Hypothesis | A testable prediction supported by scientific reasoning | If more paper clips are added, then the airplane will travel a shorter distance because the additional mass may cause it to fall sooner. |
| Trial | One repetition of a test | One airplane flight |
| Data | Information collected during an investigation | Flight distances measured in feet |
| Fair test | An investigation in which only one variable is intentionally changed | Changing the number of paper clips while keeping the airplane design and throwing method the same |
Students should practice these concepts in context rather than simply copying definitions. Give them short experimental scenarios and ask them to identify each part of the investigation.
What Is Experimental Design?
Experimental design is the process of planning an investigation that can produce reliable evidence.
A well-designed experiment includes:
- A specific, testable question
- One independent variable
- A measurable dependent variable
- Clearly identified constants
- A control group when appropriate
- Multiple trials
- An organized method for collecting data
- A procedure that another person could repeat
Experimental design requires students to make decisions. They must determine what to change, what to measure, what to keep the same, and how much evidence they need.
That is why experimental design is often more difficult for students than memorizing the steps of the scientific method.
How Do You Write a Testable Scientific Question?
A testable scientific question identifies what will be changed and what will be measured.
A useful question frame is:
How does _____ affect _____?
The first blank usually identifies the independent variable. The second blank identifies the dependent variable.
For example:
How does the amount of sunlight affect the height of bean plants after 14 days?
In this investigation:
- The amount of sunlight is the independent variable.
- Plant height is the dependent variable.
- Plant height can be measured in centimeters.
- The investigation can be repeated.
Compare that question with:
Do plants like sunlight?
This is not a strong testable question because “like” is vague and cannot be directly measured.
Characteristics of a Testable Scientific Question
A testable question should:
- Be answered by collecting evidence
- Include something that can be changed or compared
- Include something measurable or observable
- Be specific enough to guide an investigation
- Avoid questions based only on opinions or preferences
Students often write questions that are interesting but too broad. Help them revise broad questions by adding a measurable outcome, a time period, or specific conditions.
Instead of:
Does fertilizer help plants?
Try:
How does the amount of fertilizer affect the average height of radish plants after three weeks?
How Do Students Write an If-Then-Because Hypothesis?
An if-then-because hypothesis includes the independent variable, the dependent variable, and scientific reasoning.
Use this structure:
If the independent variable is changed, then the dependent variable will respond in a predicted way because of a scientific reason.
For example:
If the amount of sunlight a bean plant receives each day increases, then the plant will grow taller because plants use light energy during photosynthesis.
The parts of the hypothesis are:
- If: What will be changed
- Then: What is predicted to happen
- Because: Why that result is expected
The “because” section is especially important. Without it, students are making a prediction but not explaining their scientific reasoning.
Avoid requiring students to begin every hypothesis with “I think.” A scientific hypothesis should focus on the relationship between variables and the reasoning behind the prediction.
A hypothesis also does not need to be correct. It needs to be testable. Scientists learn from evidence even when the results do not support the original hypothesis.
How Do You Teach Independent and Dependent Variables?
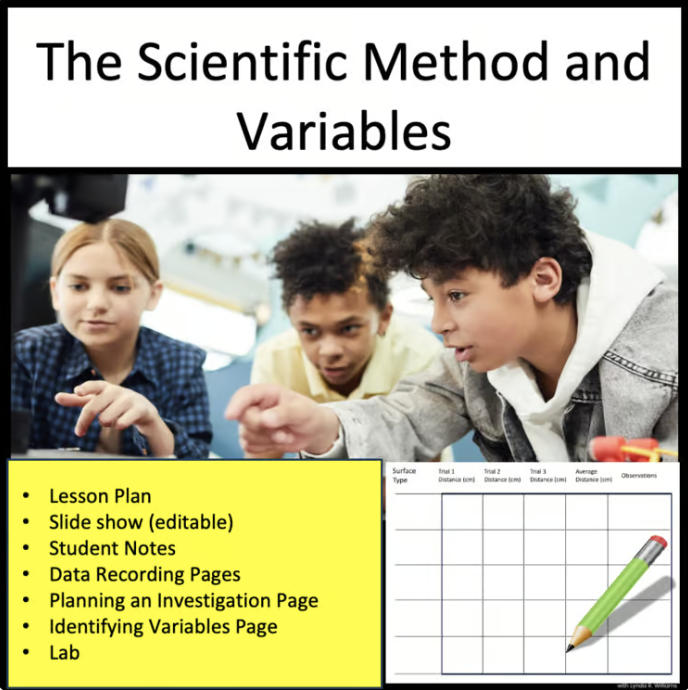
The independent variable is the factor deliberately changed by the investigator. The dependent variable is the result that is measured or observed.
One student-friendly explanation is:
- Independent variable: “I change it.”
- Dependent variable: “I measure it.”
For example, imagine students are testing how ramp height affects the distance a toy car travels.
- The students change the height of the ramp.
- They measure the distance traveled by the car.
Therefore:
- Ramp height is the independent variable.
- Distance traveled is the dependent variable.
Students may memorize shortcuts such as “I change it” and “I measure it,” but they should also practice explaining why each variable has that role.
Ask:
- What did the scientist intentionally change?
- What result was measured?
- What conditions should remain the same?
- What data would be recorded?
These questions guide students through the logic of an experiment instead of asking them to rely only on vocabulary.
How Do You Teach Students to Identify Variables?
Begin with simple scenarios that contain one obvious change and one measurable result.
For example:
A student places identical ice cubes in water at three different temperatures. The student records how long each ice cube takes to melt.
Ask students:
- What did the student change?
- What did the student measure?
- What should remain the same?
The answers are:
- Independent variable: Water temperature
- Dependent variable: Time required for the ice cube to melt
- Constants: Ice cube size, amount of water, container type, and measuring method
Once students are successful with basic examples, introduce more complex scenarios containing extra information. This requires students to separate important experimental details from irrelevant details.
A Four-Step Strategy for Identifying Variables
Teach students to follow these steps:
- Find the factor that was deliberately changed.
- Find the outcome that was measured.
- List the conditions that should stay the same.
- Decide whether a comparison or control group is included.
It is also helpful to use graphs. The independent variable usually appears on the x-axis, while the dependent variable usually appears on the y-axis. Students should understand that this is a common graphing convention, not the definition of a variable.
The Most Common Mistakes Students Make When Identifying Variables
Students make predictable mistakes when they begin analyzing experiments. Recognizing these mistakes can help teachers plan more effective instruction.
Mistake 1: Choosing Anything That Changes
Students often assume that any factor that changes during an experiment must be the independent variable.
For example, a student may say plant height is the independent variable because the plants changed over time. However, plant height was not deliberately changed. It was measured as the outcome.
I remind students to ask:
Did the investigator intentionally change this factor, or did it change as a result?
That question often helps students distinguish the independent variable from the dependent variable.
Mistake 2: Choosing the Measurement Tool
If students use a ruler to measure plant height, some will identify the ruler as the dependent variable.
The ruler is a tool, not a variable. The dependent variable is the measurement collected with the tool.
Ask students to complete this sentence:
The scientist used a ruler to measure _____.
The answer to the blank is more likely to be the dependent variable.
Mistake 3: Confusing Constants with the Control Group
Students frequently use the words control and constant as though they mean the same thing.
Constants are conditions kept the same in every group. A control group is a comparison group that does not receive the independent variable or treatment.
An experiment may have many constants but only one control group. Some investigations do not have a traditional control group at all.
Mistake 4: Identifying Time Automatically as the Independent Variable
Students often see days, minutes, or weeks in an experiment and immediately select time as the independent variable.
Time is only the independent variable when the investigator is intentionally comparing different amounts of time.
In a plant investigation conducted for 14 days, time may simply be a constant. Every plant grows for the same amount of time while the investigator changes the amount of light or water.
Mistake 5: Using the Question Topic Instead of the Measured Variable
Students sometimes give broad answers such as “plants,” “temperature,” or “paper airplanes.”
Encourage them to be precise.
Instead of:
The dependent variable is the plant.
Write:
The dependent variable is the height of the plant in centimeters after 14 days.
Specific answers show that students understand exactly what evidence is being collected.
Mistake 6: Looking for Keywords Instead of Understanding the Investigation
Shortcuts can help students begin, but keyword hunting eventually causes mistakes.
Students may look for words such as amount, time, or temperature without considering how those quantities are being used.
The most reliable approach is to ask:
- What did the scientist change on purpose?
- What evidence did the scientist collect as a result?
Repeated practice with short experimental scenarios helps students develop this reasoning.
What Is the Difference Between a Control and a Constant?
A constant is a condition kept the same throughout an investigation. A control is a comparison group that does not receive the treatment being tested.
Suppose students investigate how fertilizer affects plant growth.
The groups receive:
- No fertilizer
- Five grams of fertilizer
- Ten grams of fertilizer
The plant receiving no fertilizer is the control group. It provides a baseline for comparison.
The constants might include:
- Plant species
- Type of soil
- Pot size
- Amount of water
- Amount of sunlight
- Length of the investigation
A quick comparison is:
| Control Group | Constants |
|---|---|
| Provides a baseline for comparison | Keep the groups comparable |
| Usually one group or condition | Usually several conditions |
| Does not receive the tested treatment | Remain the same in every group |
| May not be included in every investigation | Are necessary for a fair test |
The phrase “controlled variables” can create additional confusion because it is sometimes used to mean constants. Choose one set of classroom terms, explain the relationship among them, and use the terms consistently.
What Makes an Experiment a Fair Test?
A fair test changes only one independent variable while keeping other important conditions the same.
A fair test should include:
- One deliberately changed variable
- A measurable outcome
- Appropriate constants
- Consistent measurement procedures
- Multiple trials
- Enough data to identify a pattern
- A comparison group when appropriate
For example, students cannot fairly test paper-airplane designs if each plane is made from a different type of paper and thrown by a different person. Too many factors are changing at once.
To improve the investigation, students could:
- Use the same type and size of paper
- Have the same person throw every plane
- Throw from the same location
- Use the same throwing procedure
- Complete several trials for each design
- Measure every flight using the same unit
A fair test does not guarantee a perfect result. It makes the evidence more useful because students can more reasonably connect the result to the independent variable.
Why Are Multiple Trials Important?
Multiple trials make experimental results more reliable.
A single trial may be affected by an unusual event, a measurement mistake, or a small difference in the procedure. Repeating the investigation helps students determine whether the result represents a consistent pattern.
After several trials, students can calculate an average and compare results.
For a paper-airplane investigation, students might fly each design three times and calculate the average distance traveled. The average provides stronger evidence than one unusually long or short flight.
This is also an opportunity to discuss the difference between reliability and validity:
- Reliability refers to whether results are consistent when a test is repeated.
- Validity refers to whether the investigation actually tests the intended question.
An experiment can produce consistent results and still be poorly designed. Students should evaluate both the consistency of the data and the quality of the experimental design.
What Is a Simple First Science Investigation?
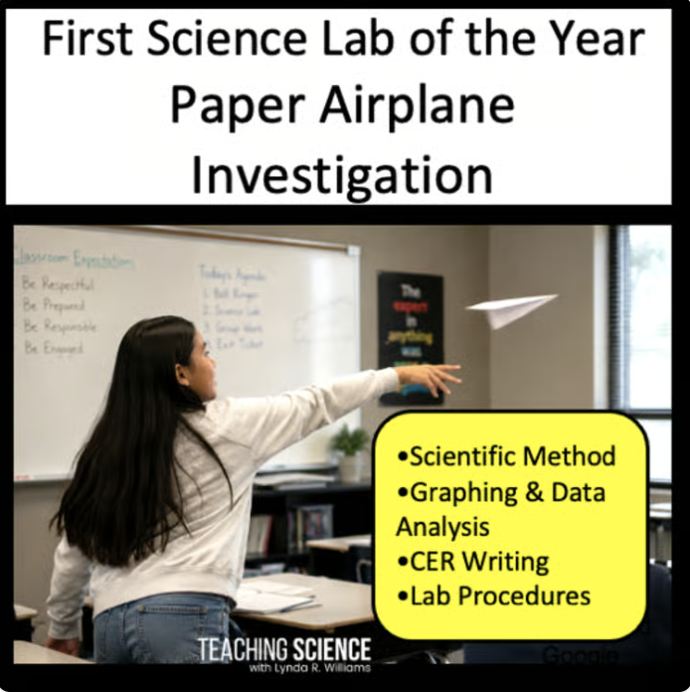
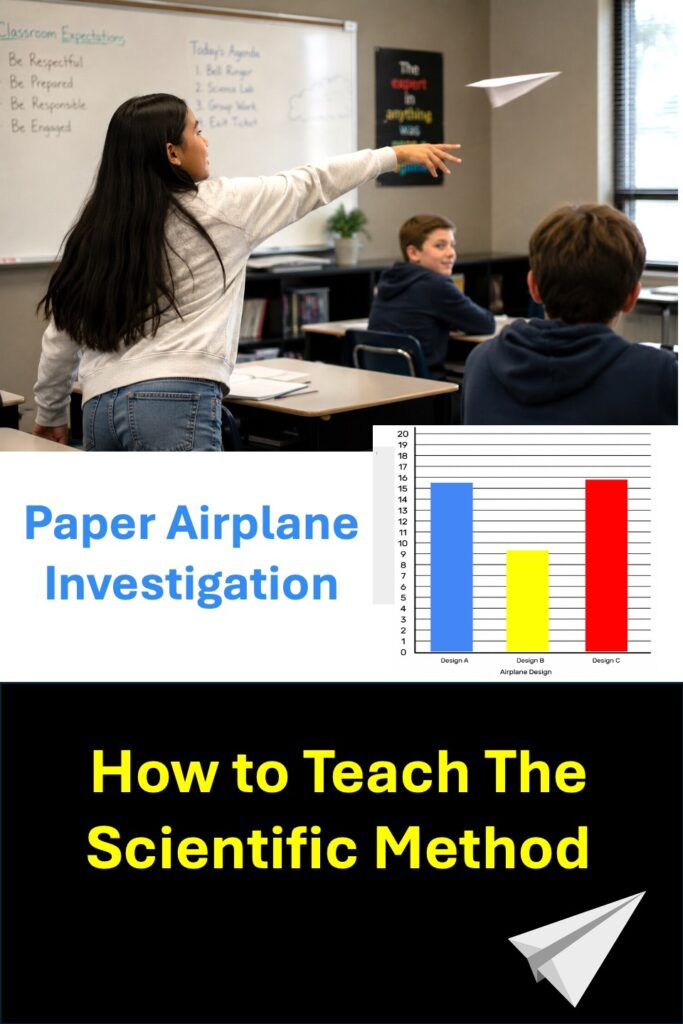
A paper-airplane investigation is an excellent first science investigation for upper elementary and middle school students.
It uses inexpensive materials, produces measurable data, and allows students to practice the complete investigation process.
Students can compare:
- Different airplane designs
- Different wing lengths
- Different paper sizes
- Different numbers of paper clips
- Different launch angles
For a first investigation, comparing three paper-airplane designs works well.
Students can:
- Ask which design will travel the greatest distance.
- Write an if-then-because hypothesis.
- Identify the independent and dependent variables.
- Identify constants.
- Conduct three trials for each design.
- Measure the distance of each flight.
- Calculate the average distance.
- Create a bar graph.
- Analyze patterns in the data.
- Write a claim supported by evidence and reasoning.
This investigation provides a concrete experience that teachers can refer to throughout the year when discussing variables, data collection, graphing, averages, fair tests, and evidence-based conclusions.
A Simple Sequence for Teaching the Scientific Method
The scientific method is easier for students to understand when instruction moves from modeling to guided practice and then to independent application.
Day 1: Introduce the Investigation Process
Introduce observations, testable questions, hypotheses, investigations, data, and conclusions.
Emphasize that scientific investigations may be revised or repeated.
Day 2: Practice Testable Questions
Give students examples of testable and non-testable questions. Ask them to revise questions that are vague, opinion-based, or too broad.
Day 3: Identify Variables
Model several experimental scenarios. Have students identify the independent variable, dependent variable, constants, and control group when appropriate.
Day 4: Write If-Then-Because Hypotheses
Connect each hypothesis to a testable question. Require students to include scientific reasoning in the “because” portion.
Day 5: Evaluate Experimental Designs
Show students fair and unfair tests. Ask them to identify problems and suggest improvements.
Days 6–7: Conduct a Simple Investigation
Use a hands-on activity such as a paper-airplane investigation. Students should collect multiple trials and organize their measurements in a data table.
Day 8: Analyze Data and Create a Graph
Have students calculate averages, create a graph, identify patterns, and discuss possible sources of error.
Day 9: Write a Conclusion or CER Response
Students make a claim, support it with evidence from their data, and explain their reasoning.
Day 10: Review and Apply
Use games, stations, or unfamiliar experimental scenarios to assess whether students can transfer their understanding to new contexts.
How Games and Stations Strengthen Experimental-Design Skills
Students need more than one example before they can independently identify variables and evaluate experiments.
Games and station activities allow students to practice many short scenarios without completing a full laboratory investigation each time.
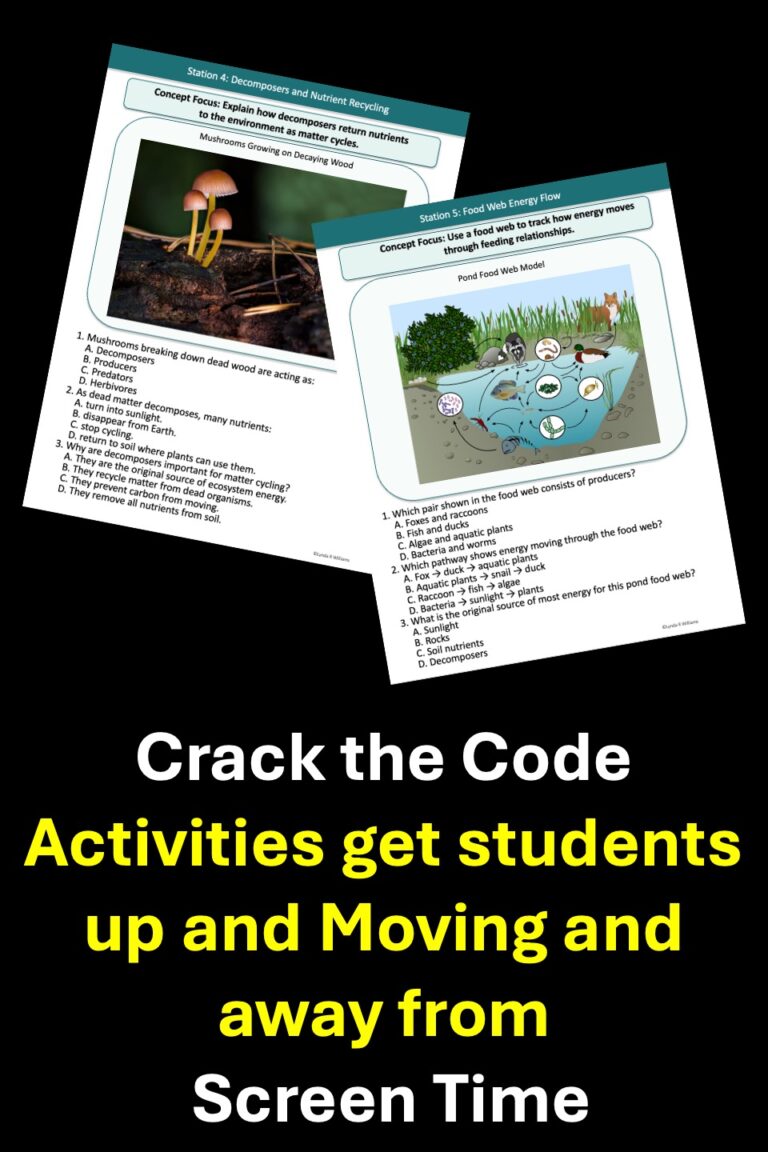
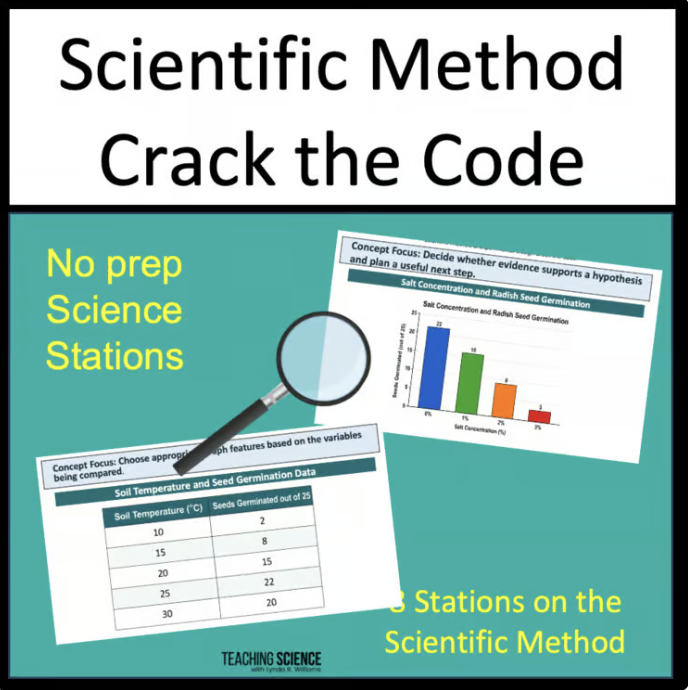
A Scientific Method Crack the Code activity can help students review scientific questions, hypotheses, variables, data, and conclusions while solving a larger challenge.
Variables and Experimental Design games provide repeated practice identifying independent variables, dependent variables, constants, controls, and flaws in experimental procedures.
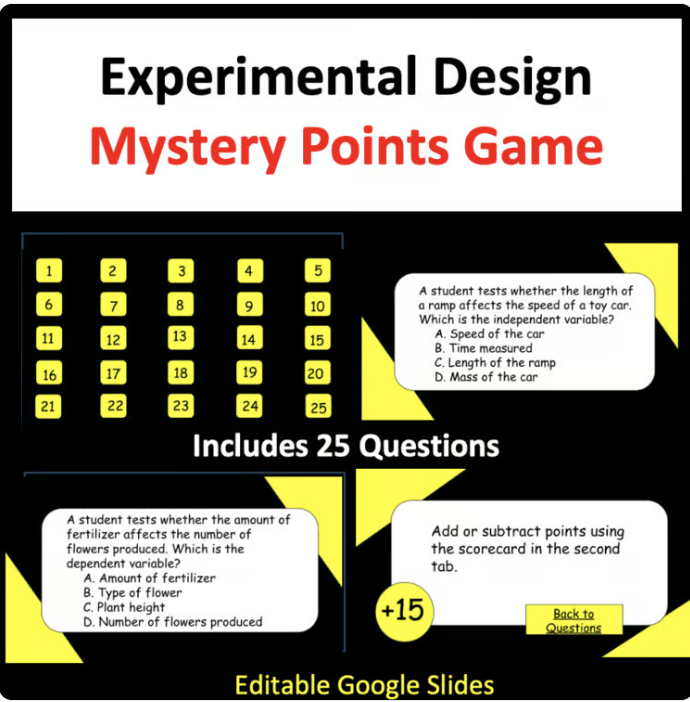
A Mystery Points review game works well after instruction because students must apply their knowledge to new examples while participating in an engaging whole-class review.
These activities are especially useful because students receive immediate feedback. Misconceptions can be corrected before they become firmly established.
Scientific Method Resources for the Beginning of the Year
The beginning of the school year is an ideal time to teach scientific method and experimental design skills. These skills support later work with labs, graphs, data analysis, CER writing, and science and engineering practices.
Helpful resources include:
- Scientific Method Crack the Code: An engaging station activity for reviewing the investigation process
- Variables and Experimental Design Games: Practice identifying variables and evaluating fair tests
- Paper-Airplane Investigation: A complete first lab with data collection, graphing, analysis, and CER writing
- Scientific-Method Units: Structured lessons for questions, hypotheses, variables, investigations, data, and conclusions
- Mystery Points Review Games: No-prep review games with editable questions
- First Month of Science Bundles: Beginning-of-the-year resources that combine scientific-method instruction with graphing, lab safety, CER, and science skills
Using these resources together gives students several ways to interact with the same concepts. They learn the vocabulary, apply it to short scenarios, conduct an investigation, analyze data, and review through games.
Frequently Asked Questions About Teaching the Scientific Method
What grade should students learn the scientific method?
Students can begin making observations, asking questions, and collecting evidence in the elementary grades. By upper elementary and middle school, they should be able to identify variables, write testable questions, plan fair tests, collect data, and explain conclusions.
Should students memorize the steps of the scientific method?
Students should understand the general investigation process, but memorization should not be the final goal. They need to apply the process to unfamiliar situations and understand that real scientific investigations are flexible.
Does every experiment need a control group?
No. Many controlled experiments include a control group, but not every scientific investigation requires one. Every well-designed investigation does need appropriate comparison conditions and constants.
Can an investigation have more than one independent variable?
Scientists sometimes study multiple variables, but beginning students should generally change only one independent variable at a time. This makes cause-and-effect relationships easier to interpret.
Is a hypothesis an educated guess?
Calling a hypothesis an “educated guess” can be misleading. A hypothesis is better described as a testable prediction supported by observations, prior knowledge, or scientific reasoning.
What should students do if the evidence does not support their hypothesis?
Students should report the results honestly, explain what the evidence shows, and consider whether the hypothesis or experimental design should be revised. An unsupported hypothesis does not mean the investigation failed.
Final Thoughts
The goal of teaching the scientific method is not to produce students who can recite a set of steps. The goal is to help students ask strong questions, plan investigations, evaluate evidence, and explain their thinking.
Students become more confident with experimental design when they have multiple opportunities to:
- Identify variables in different contexts
- Distinguish controls from constants
- Write testable questions
- Develop if-then-because hypotheses
- Evaluate whether an investigation is a fair test
- Collect and analyze repeated measurements
- Use evidence to support a conclusion
Start with clear examples, explicitly address common misconceptions, and then give students a meaningful investigation they can complete themselves. A simple paper-airplane experiment can provide the foundation for an entire year of science practices, data analysis, graphing, and evidence-based reasoning.
Lynda Williams is an experienced science educator, curriculum creator, and teacher trainer with decades of experience helping students and teachers make sense of science. She taught science methods at the university level for nearly 20 years and has developed hundreds of classroom resources focused on scientific inquiry, graph analysis, experimental design, CER writing, phenomena, and standards-based science instruction. Through her work at Teaching Science, Lynda creates practical, teacher-friendly resources that help students think critically, analyze evidence, and build confidence as scientists.